The Ivinghoe Beacon walk is such an amazing walk to do in the Chiltern Hills. This guide has all the info to help plan your day here.
If there’s one thing I love, it’s getting outside and exploring the countryside. It’s a great way to clear my head, and I’ve come to really look forward to these little escapes. Next I’ll be joining the Ramblers Association!
With so many incredible walks in Buckinghamshire to choose from, it’s hard to pick a favourite.
Recently Chloe & I went to Bridgewater Monument for the Ivinghoe Beacon walk and it was simply stunning.
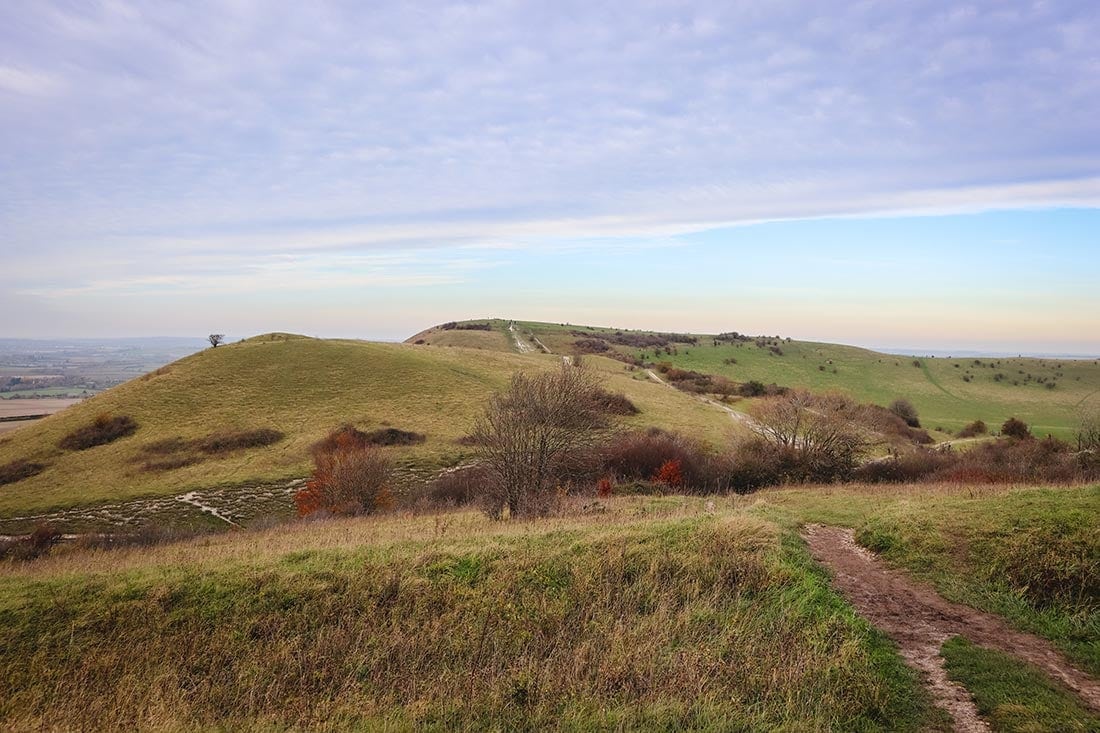
This walk takes you through tranquil woodland before you come out onto a hill overlooking the gorgeous green rolling hills of Buckinghamshire. To me, it’s views like this which is what England is all about. I mean, just look at it!
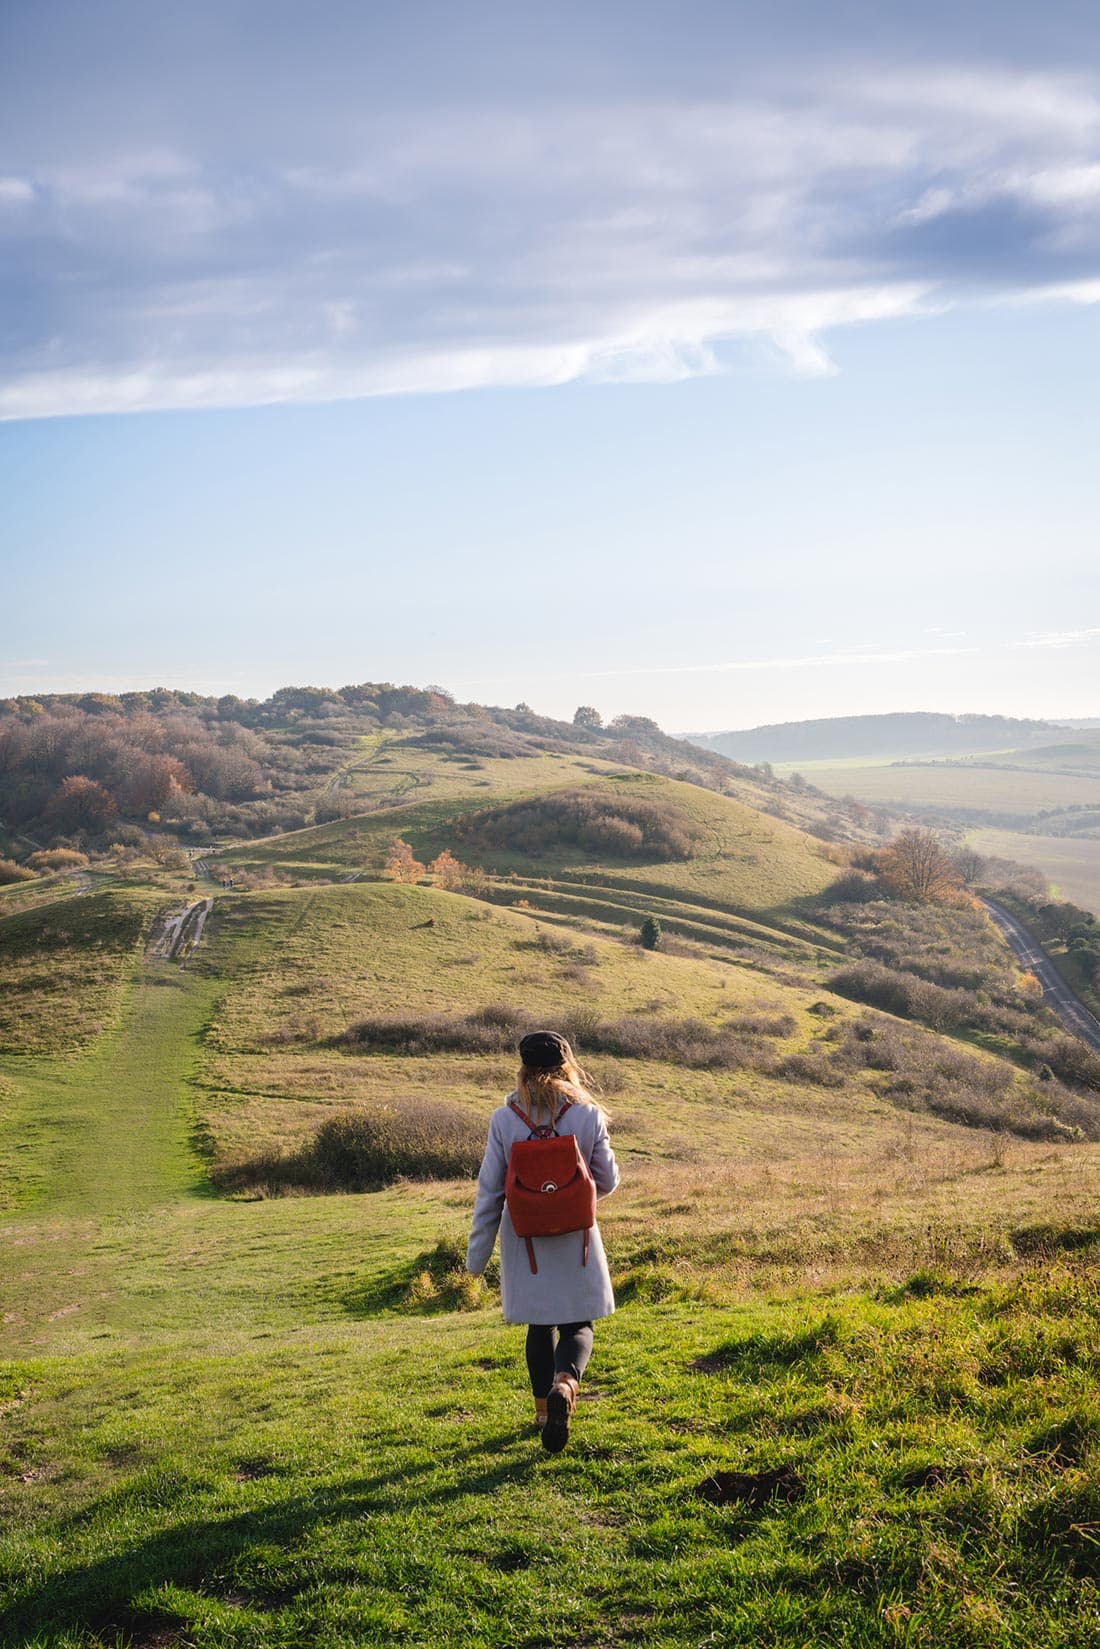
Walking to Ivinghoe Beacon is something people have been doing for hundreds of years. There is an Iron Age fort nearby, and the whole area is covered in history.
Also, from Ivinghoe Beacon, you’ll be able to spot the legendary chalk lion at Dunstable Downs. This is a giant chalk drawing on the hills that marks the location of Whipsnade Wildlife Park. It was created in 1933, and at 147 metres long it’s the largest chalk drawing in England.
This whole area in the Chilterns is an Area of Outstanding Beauty (much like the Amersham circular walk we did). That means this walk is all about the views.
So, if you’re planning on doing the Ivinghoe Beacon walk, then this is the guide for you. In it I’ll tell you everything you need to know about the walk including all my favourite highlights too.
I really hope you enjoy this one as much as we did!
Contents:
How long does the Ivinghoe Beacon walk take?
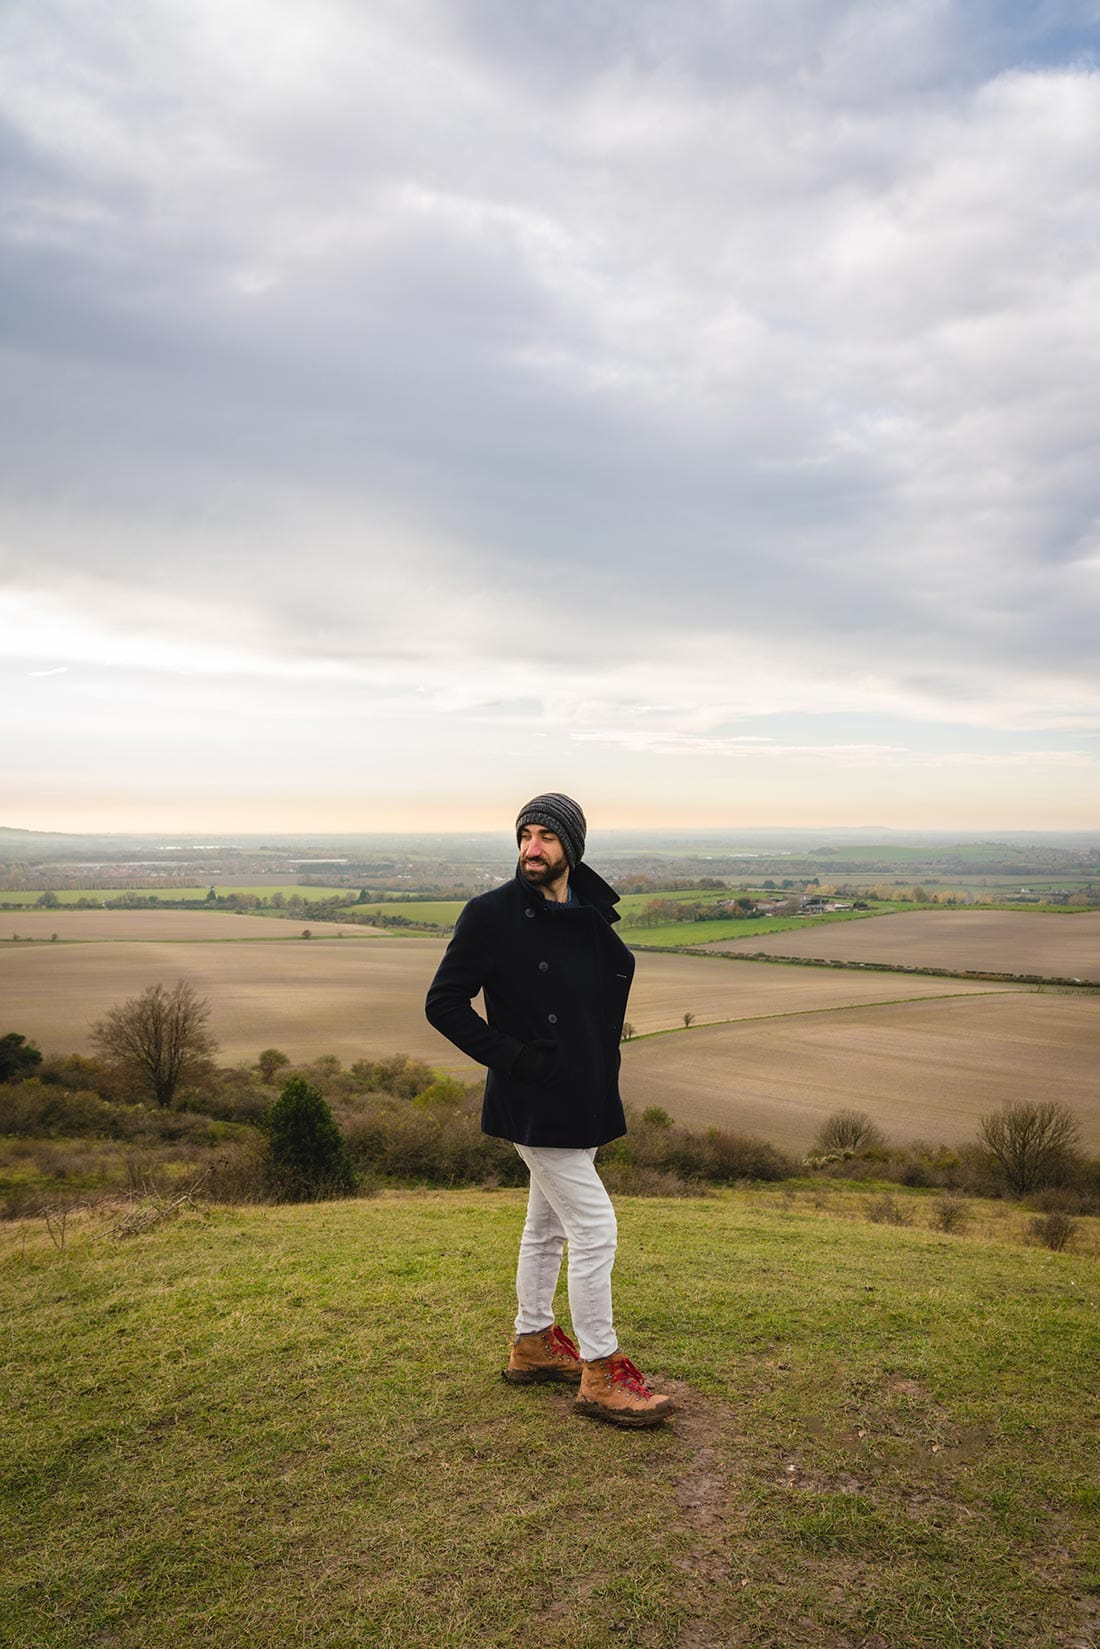
I would say straight away that walking to Ivinghoe Beacon is very easy. Apart from two small hills, it’s pretty much flat throughout. That means this is a dog friendly route if you want to try and tire out your dog.
In total, this walk is 6.5 miles (10.6 kms) long. The ascent is only 303 metres (1,000 ft), so it really is a lovely little jaunt.
It depends on how many times you stop along the way, but I would say it’s best to factor in about 3 to 4 hours for this walk. If you’re a very fast walker you will do it a lot quicker than this though.
Where to start the Ivinghoe Beacon walk
There are a number of different starting points to choose from for the Ivinghoe Beacon walk.
You can start from the little village of Tring which is nearby. There is a train station in Tring, so this is the perfect option for those of you without cars.
Another popular place to start from is The Rose and Crown in the village of Ivinghoe. This is a great place to for those of you who want a pint once you’ve finished your walk.
However, the majority of people start from Ashridge Estate and Bridgewater Monument. This is a huge National Trust site with 2,000 hectares of land in the Chiltern Hills.
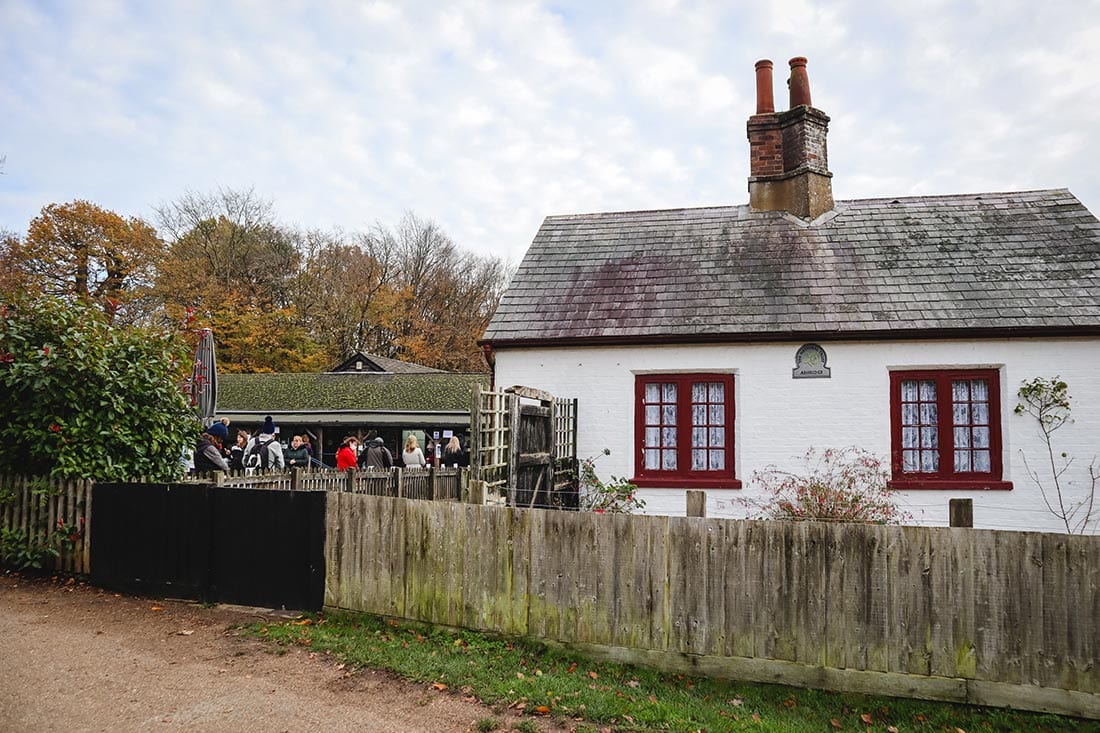
One of the best bits about starting the walk from here is the car park is free. Also, there’s a lovely café next to Bridgewater Monument which I’d really recommend visiting. All their cakes are homemade, and they have cheap sandwiches and other snacks too.
Oh, another thing about the Ashridge Estate. This is a place where to do a lot of filming for TV and film. Blockbusters like Harry Potter and Beauty & the Beast have been filmed here.
When we were here they were filming series 3 for Britannia which is on Amazon Prime. Not quite the same level as Harry Potter but still very cool seeing such a large production going on.
Highlights of the Ivinghoe Beacon walk
Section 1: Bridgewater Monument to Clipper Down Cottage
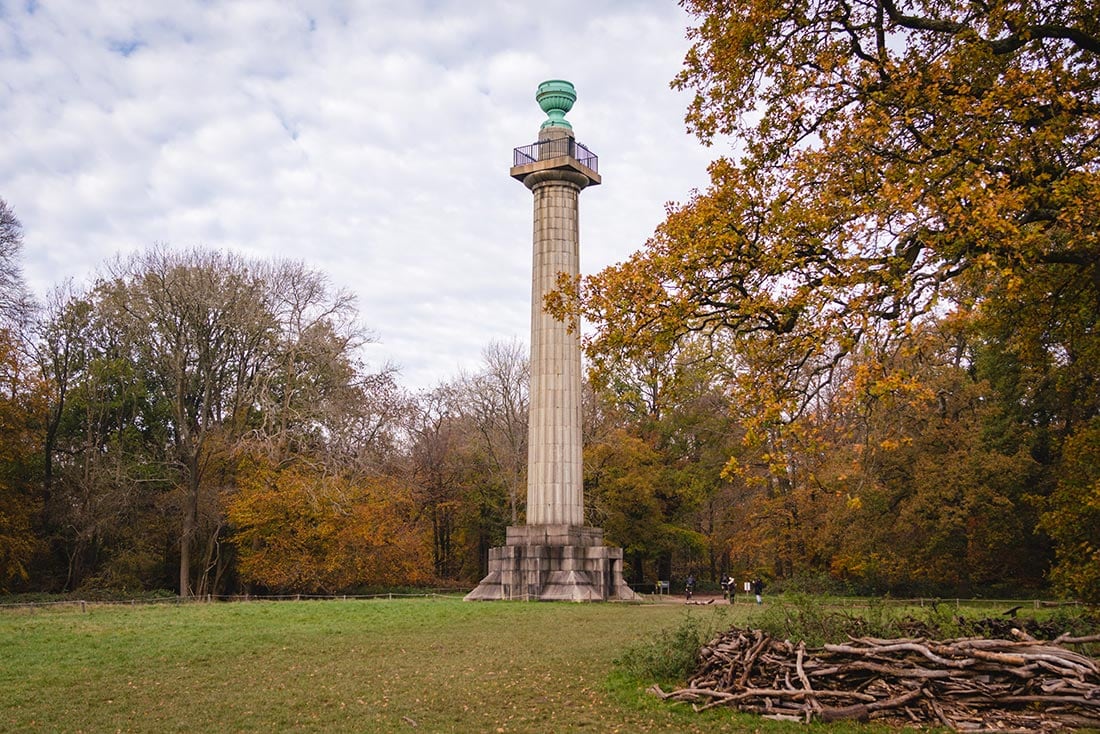
The walk starts from Bridgewater Monument. This is the giant column that looks like Nelson’s Column.
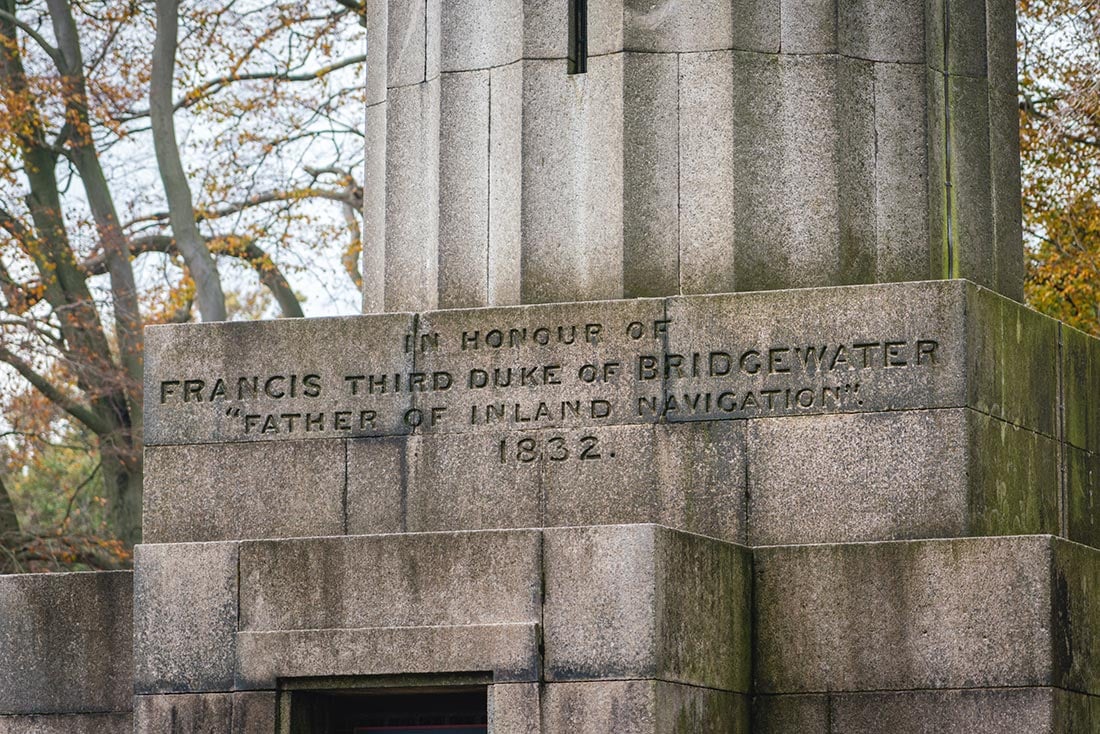
The monument was built in 1832 in memory of the third Duke of Bridgewater who once lived in Ashridge house.
During the weekends from April to October, the monument is open to the public. There are a tough 172 steps to the top, but once you get back outside it’s well worth it for the stunning views. On a clear day you can even see Canary Wharf in central London!
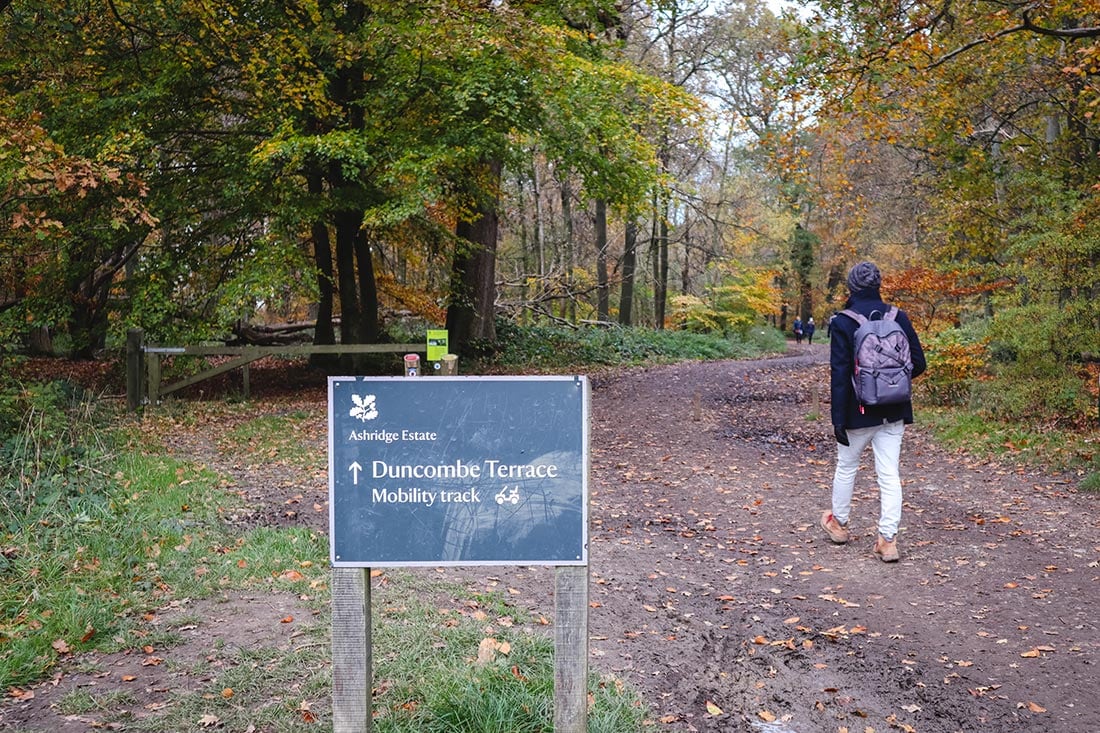
Right, it’s time to start the Ivinghoe walk. As you’re facing the monument, you want to take a path directly to the right. There’s a sign saying “Duncombe Terrace – Mobility Track”. That’s the one you want to follow.
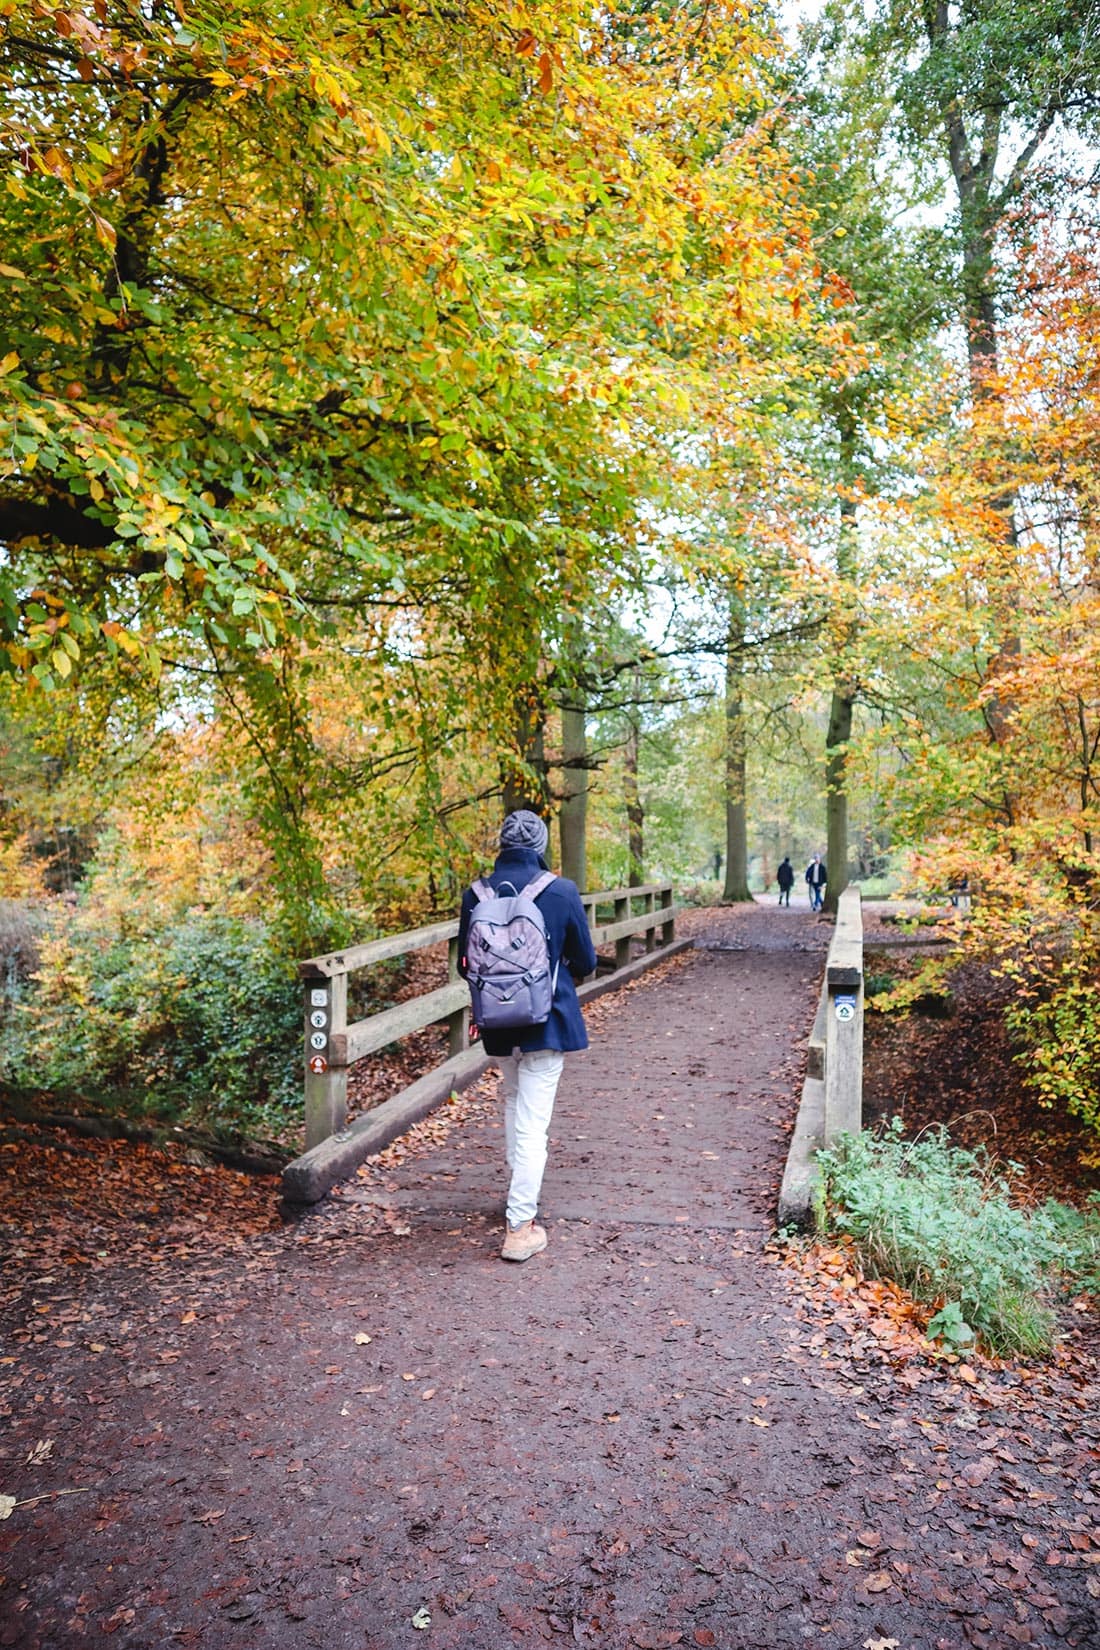
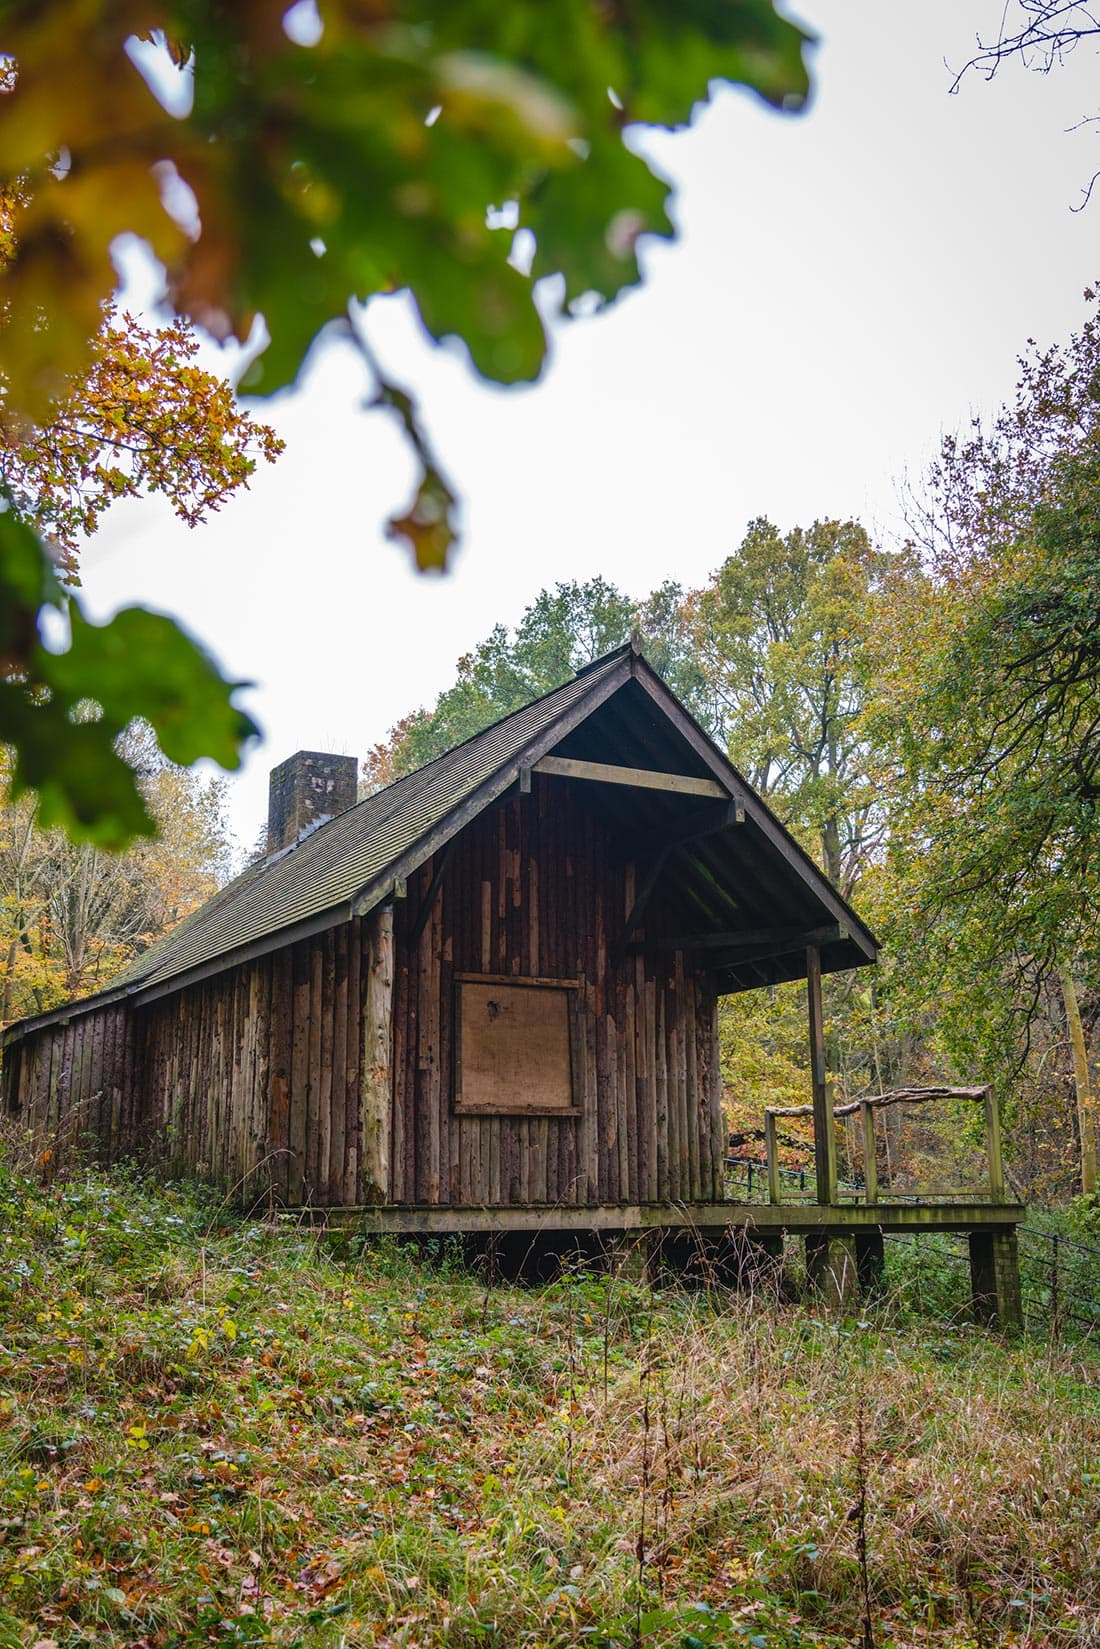
This first section takes you through the woods. After about 10 minutes, you’ll cross a small wooden bridge and come across an ancient barrow and an old shooting lodge on the left. I thought the shooting lodge was a really cool photo spot so make sure you’ve got your camera ready.
If you keep following the path through the woods, you’ll eventually pass a small cottage on the right. This is Clipper Down Cottage. If you pass through the gate and keep on the path, you’ll eventually come to a fork in the road.
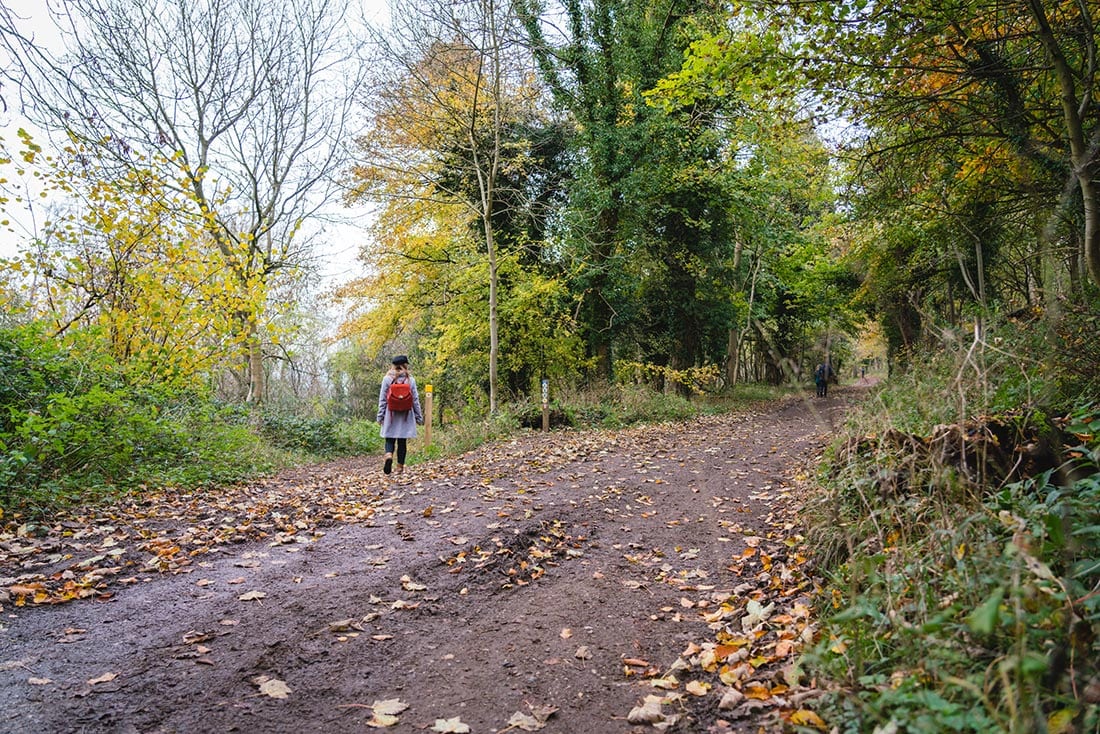
Now, a lot of people carry on the same path directly to Ivinghoe Beacon as this is the quickest route. However, make sure you turn left here!
This is a really quiet and relaxing section that showcases the beauty of the Chiltern Hills. When Chloe & I were here, we saw hardly anyone else on this path and it felt like we had the place to ourselves.
Oh, there is a sign to Ashridge Estate Boundary Trail. Follow this and you’ll be on the right trail.
Section 2: Ashridge Estate Boundary Trail to Ivinghoe Beacon
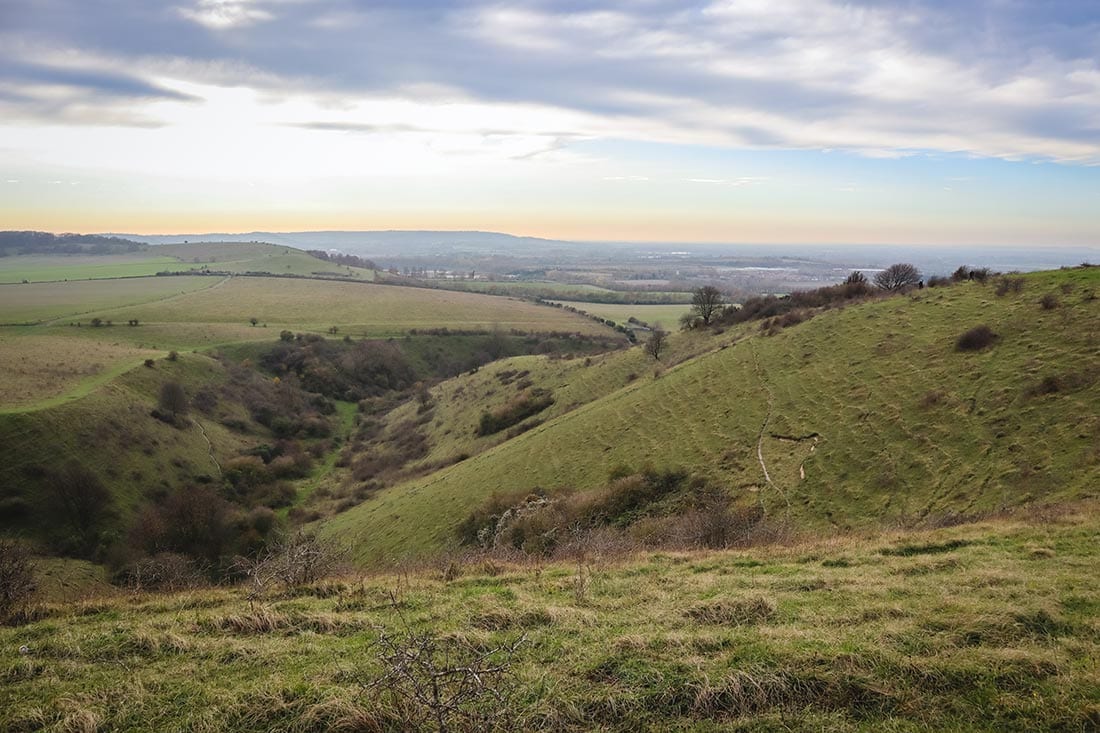
If you keep following this path downhill, you’ll eventually come to a clearing with views of Pitstone Hill in front of you. Pitstone Hill is a great detour if you fancy climbing up it. If not, keep on following the path to the fields below.
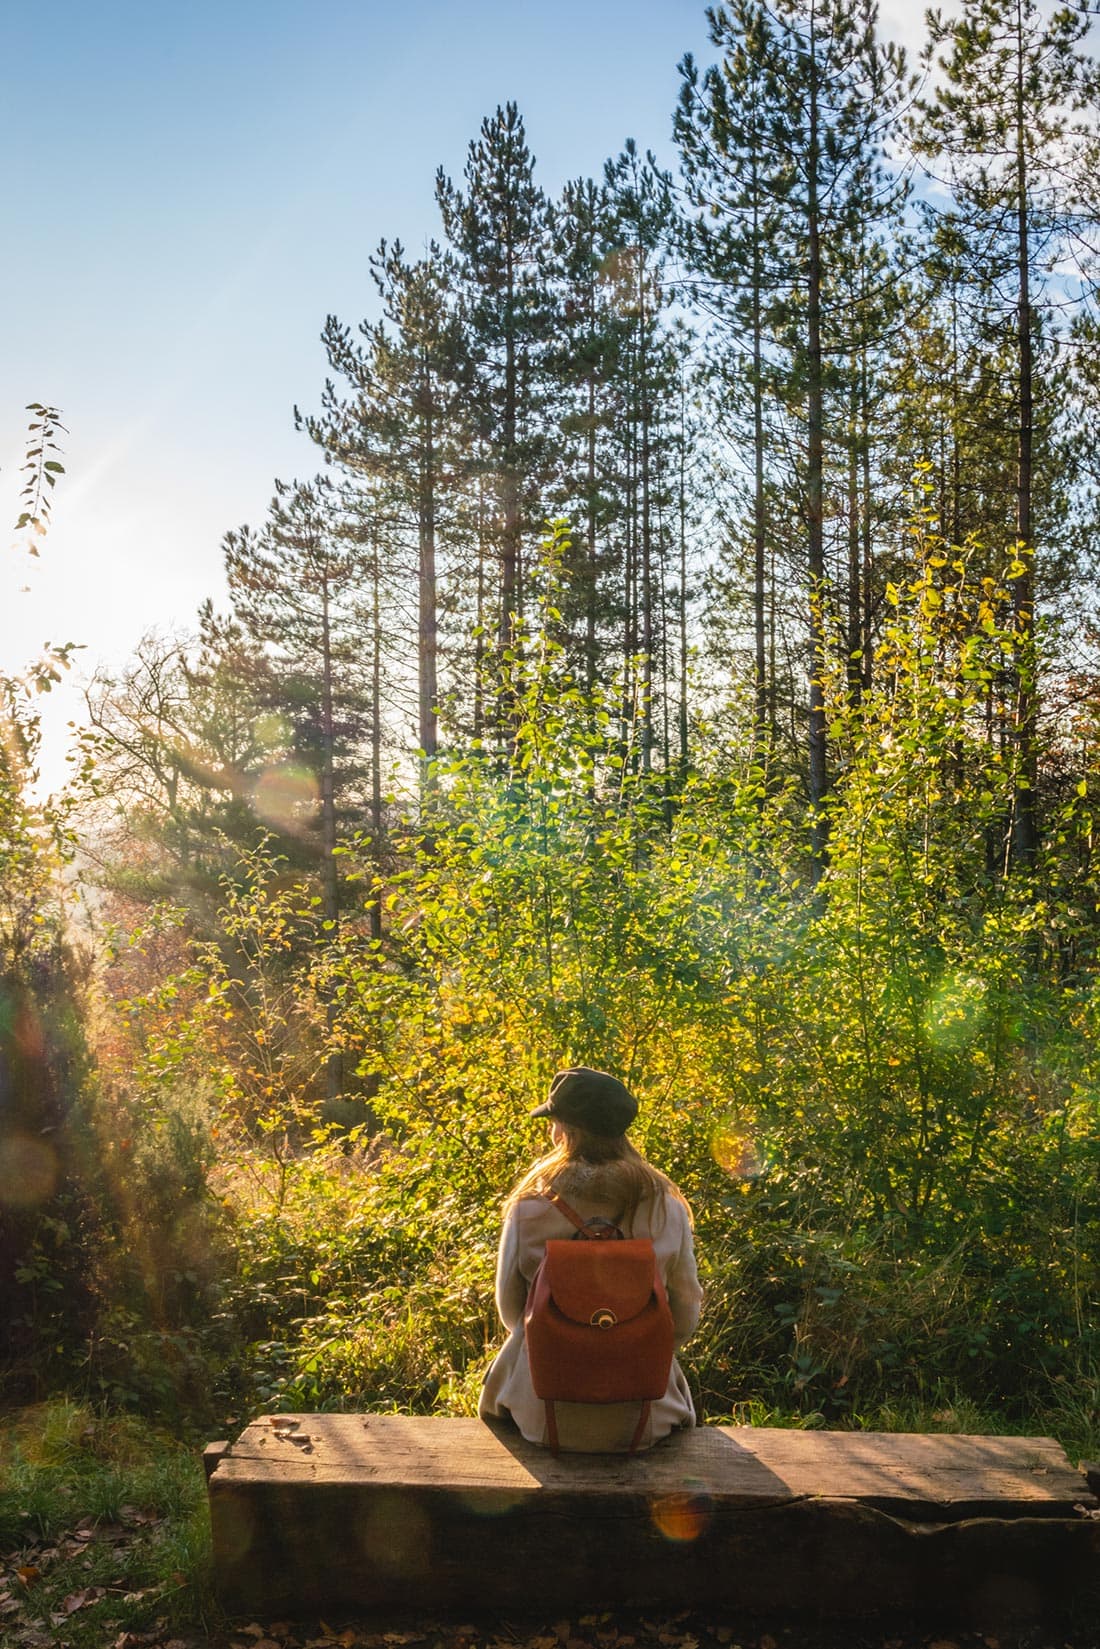
I would say the view of Pitstone Hill is a really good place to stop for a snack or for lunch. Chloe & I found some massive logs up on a bank – there is a horizontal tree trunk there that’s basically like a bench, it’s just perfect. Also, if you’ve got the little ones with you, they will love climbing over all the logs. I know I certainly did.
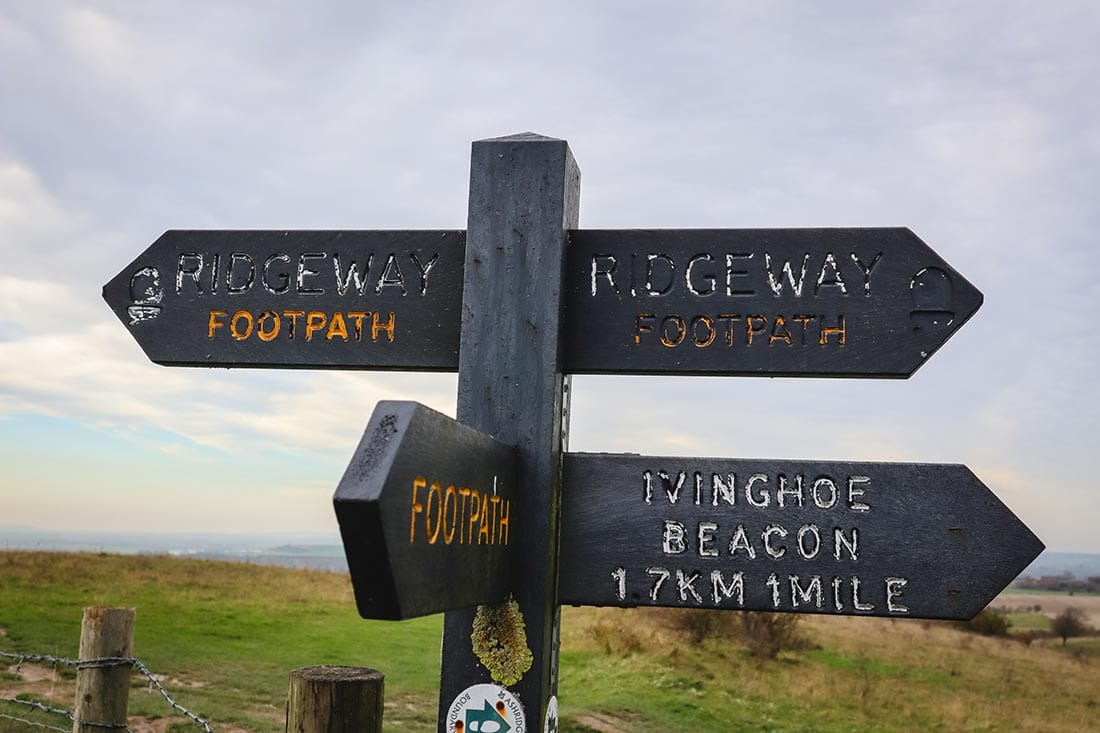
Once you’ve had a break, if you keep on following the fence then it’ll bring you to a crossroads with a sign post. From here, turn right onto the grassy path and head towards the hills. Follow this path uphill, passing the spectacular deep valley of Incombe Hole on your left.
This is one of only two uphill sections and it’s short too. Five minutes and you’ll be at the top with views of the valley gouged into the landscape below.
Follow the trail past a dense block of hawthorn scrub and you’ll eventually come to a short woodland section.
Now, the path goes directly through the middle of these woods and it can get really muddy here. As in, really really muddy. It’s slippery, it’s slidey, and we both did well not falling on our butts.
If you don’t fancy that, there’s another path about 50 metres to the left of the woods. This takes out this short muddy path and the walking is a lot easier. That’s the route I’d recommend.
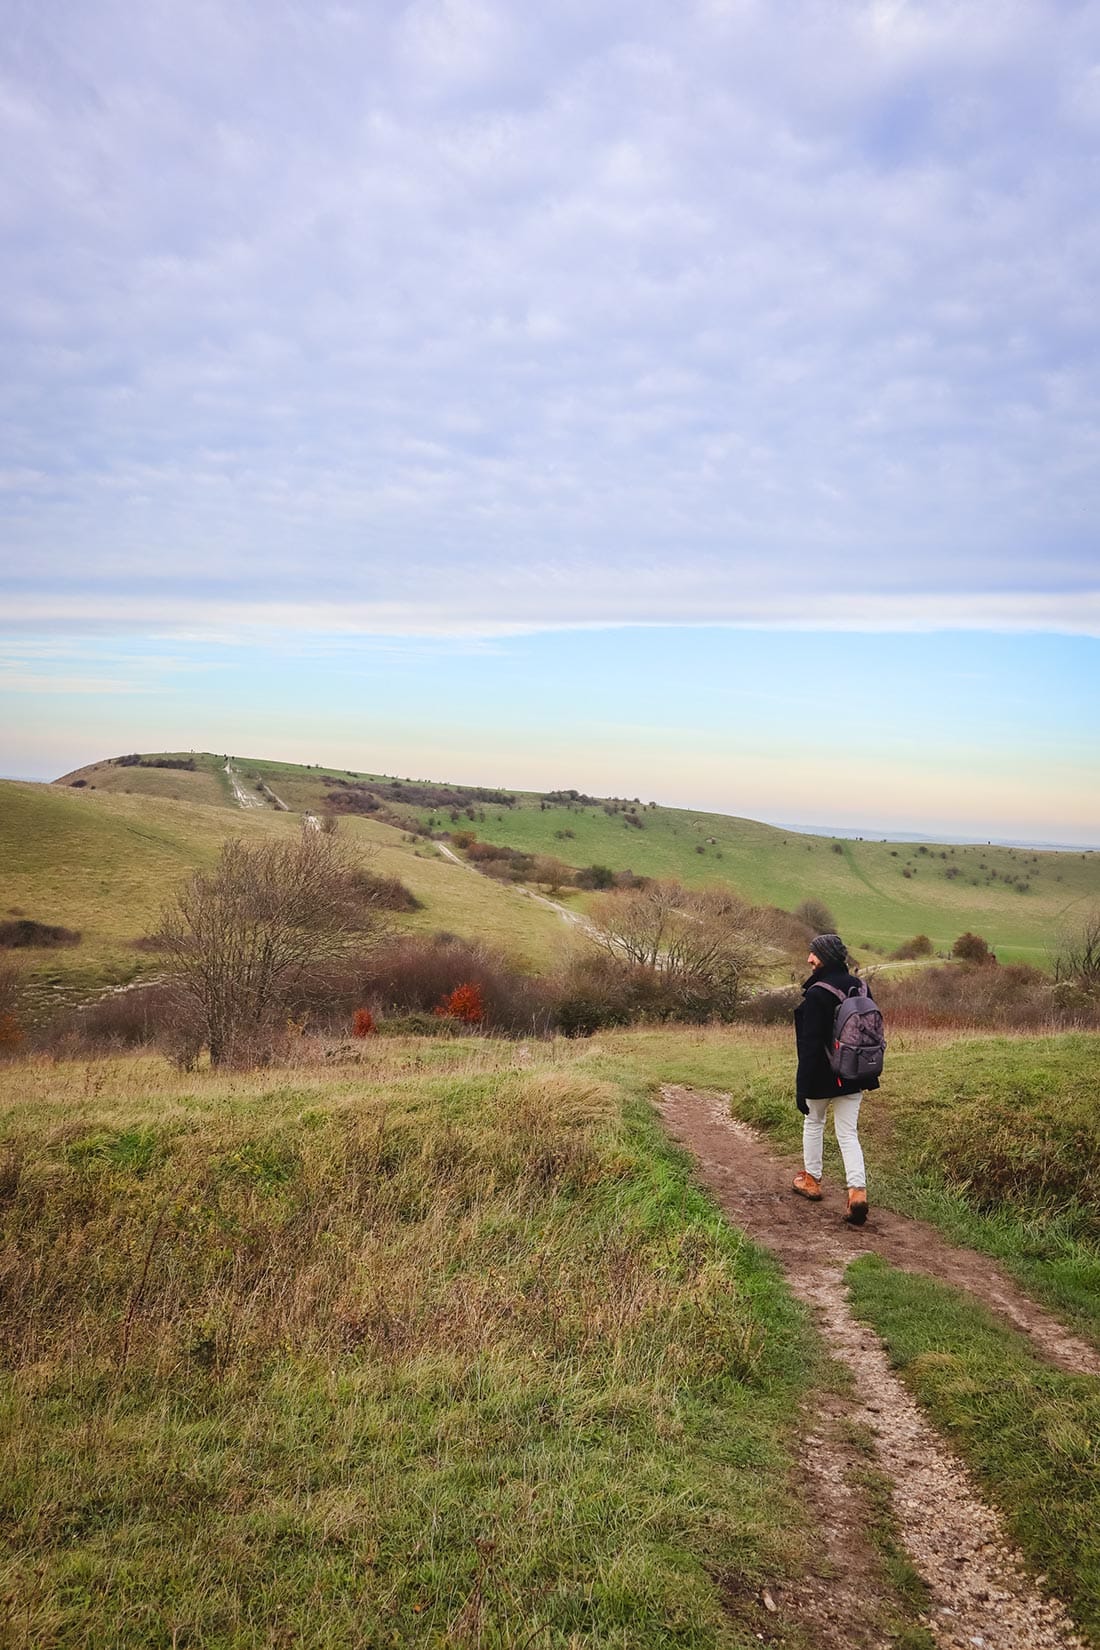
Once you pass through a gate, it’s a straight shot to Ivinghoe Beacon. Cross the road and take any of the paths up to the trig point. This is the second uphill section on the Ivinghoe Beacon walk. Again, it’s nice and easy.
At the top of Ivinghoe Beacon you’ll be rewarded with the best views across the Vale of Aylesbury. You’ll also be able to see the chalk lion from here too.
Ivinghoe Beacon is on the Ridgeway National Trail. This is an 87-mile trail following Britain’s oldest road. This tail can take up to a week to complete, but it’s cool seeing a small section of it at Ivinghoe.
Section 3: Ivinghoe Beacon to Bridgewater Monument walk
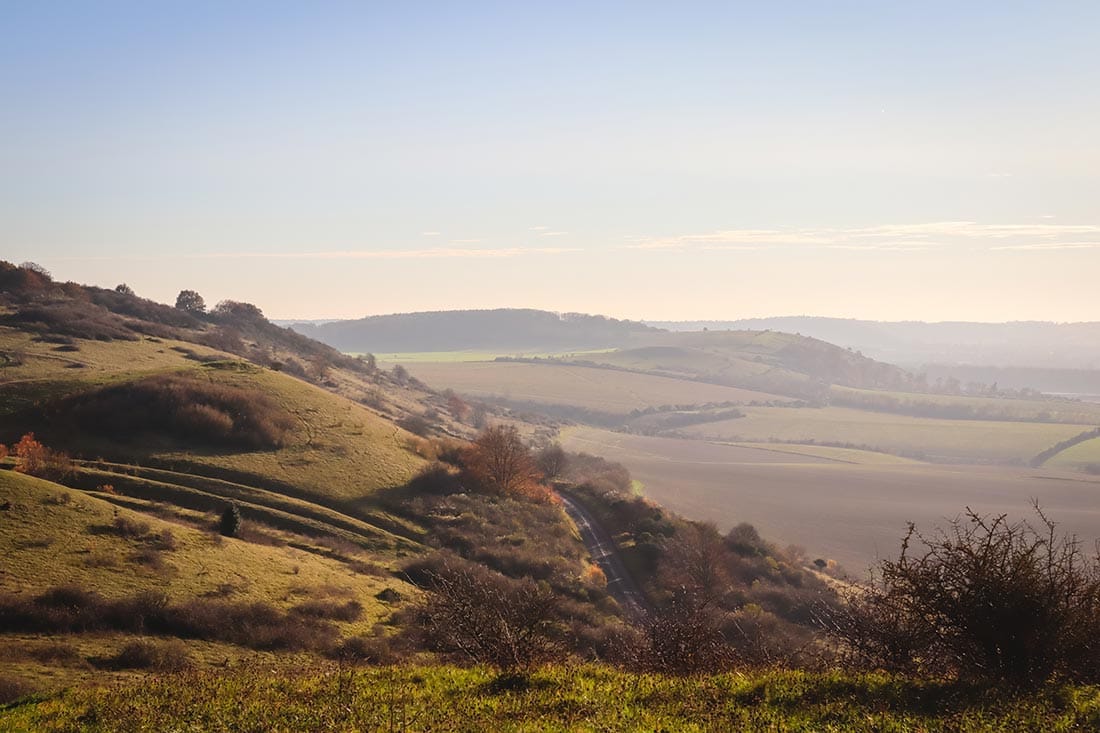
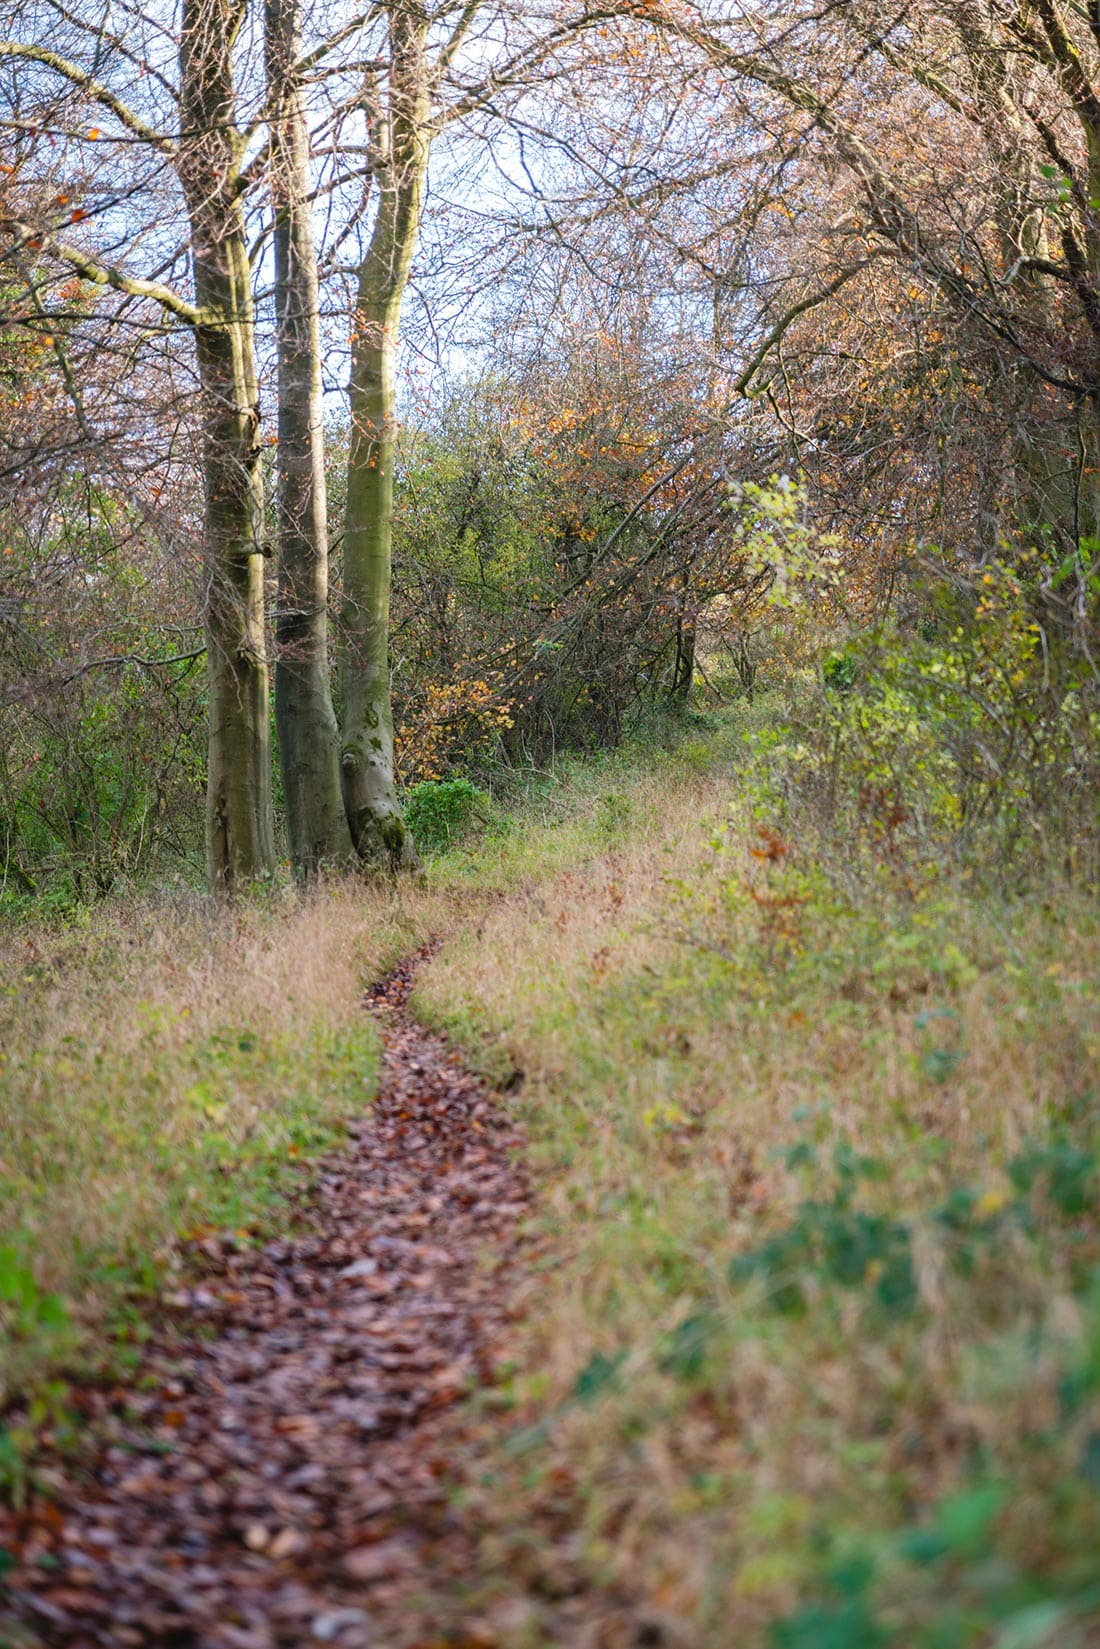
Once you’ve taken in the views, it’s time to head back to Bridgewater Monument. If you head back and cross over the road, there is a small path immediately on the left. It’s really skinny, so quite easy to miss, but this is the path you want.
If you follow this for about 15 minutes it’ll take you to a car park. This is one of the nearer car parks for Ivinghoe Beacon. If you carry on to the far end of the car park, there is a track heading off to the right.
Follow this track until you reach a cattle grid, then keep on heading straight. You’ll eventually come to the same fork from section 1-2 which means you’re nearly finished.
Continue back to the Bridgewater Monument via Clipper Down Cottage, the Shooting Lodge and the wooden bridge.
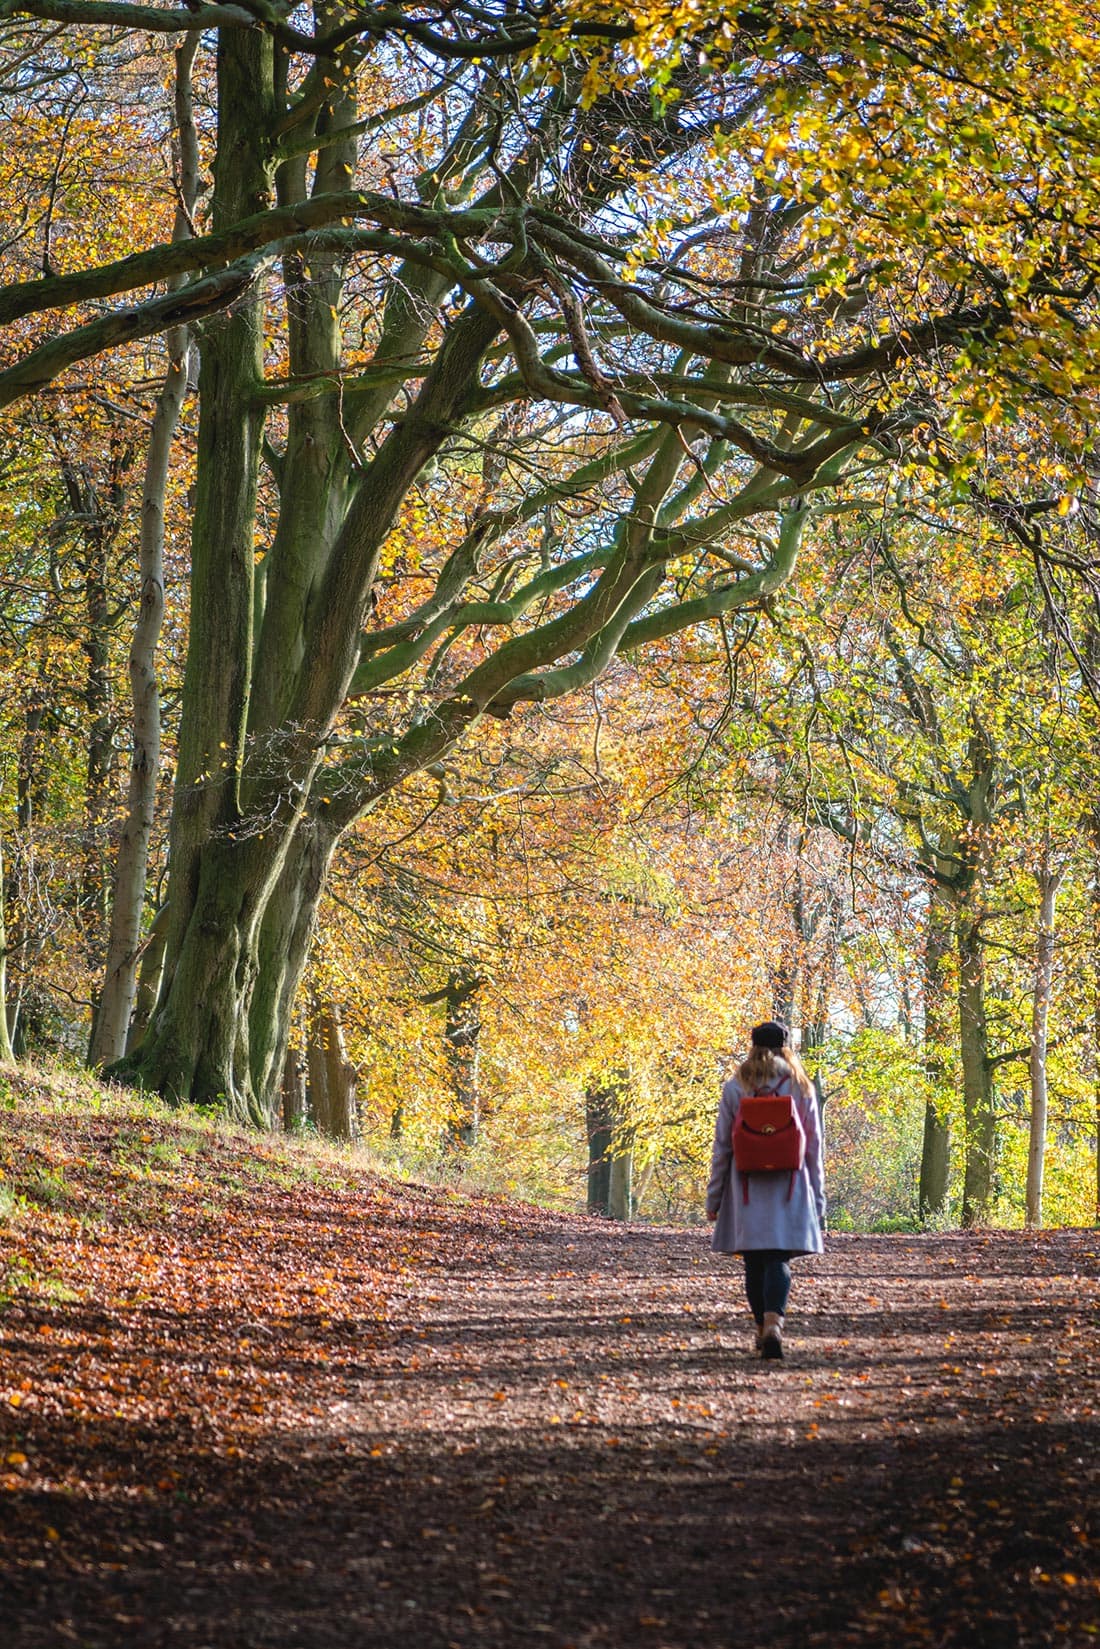
Once you’ve finished walking from Ivinghoe Beacon, I’d really recommend grabbing a coffee and a cake from Brownlow Café. As I’ve already said, their cakes are amazing, and the coffee is surprisingly good too. The café is open from 9am till 4pm.
During summer, there is usually an ice cream van in the car park. Be warned though – when it’s hot the queue can be very long!
So there you have it, you’ve just completed the walk to Ivinghoe Beacon. Even though this is only a 3 to 4 hour walk, it makes for a really nice morning or afternoon activity.
Walking packing list
Usually when we go out on these walks, we’re spending all day out and about in the countryside. Because of that, there are some things that we always bring with us and recommend to others. Hopefully one or two of these items can help make your walk that little bit more enjoyable!
- Walking shoes – The no.1 item we always recommend is a good pair of walking shoes! They can really make or break your walk. Here are the ones we currently have – Mens | Womens
- Walking socks – It’s important to have a comfy pair of socks too otherwise your feet can blister – Mens | Womens
- Plasters – And if your feet do get blisters, then make sure you bring along some platers just in case (and hope you don’t need them).
- Rain jacket – The reality of walking in Great Britain means walking in all weathers, so it’s always a good idea having a quality rain jacket with a hood just in case the weather turns bad – Mens | Womens
- Sun cream – On the opposite end of the scale, it’s always a good idea to have sun cream on you too for when the sun comes out, especially in summer.

- Water bottle – I am a water bottle convert and I barely leave the house without one now. This is a great water bottle with a built-in straw – it’s surprisingly handy when walking!
- Energy bars – No matter whether I’m hiking or trail running, I always have a couple of energy bars in my bag to stave off the hanger. These are some of the best I’ve found.
- Portable power bank – Just incase you’re out hiking for a long time and your battery dies, it’s always a good idea to have a power bank as a backup. This one is my favourite – just make sure you charge it before you go walking!
- Quick dry towel – With the rise of wild swimming (or cooling off under a waterfall in the Lake District), then having a quick dry towel in your bag is a must.
Enjoyed this blog post? Then make sure you Pin it for later!
